Disclosure: Some of the links below are affiliate links, meaning, at no additional cost to you, Storehacks may earn a commission if you click a link to an external source.
[Last Update January 2018]
In this article we are going to show you exactly how to set up dynamic product ads for shopify on Facebook.
If you don’t have somewhat of a focus on your backend retargeting I suggest you take a look at How to Unlock $88,475 Off $19,831.22 with Facebook Ads. It is the most important aspect of advertising after you have driven that front end traffic. The feed forms the backbone to effective, profitable retargeting.
We have found a lot of ecommerce marketers have the bare essentials in place for retargeting. More of an emphasis needs to be put on cleaning up the back end sales as it is where a lot of easy/easier money can be made.
in conjunction with what we are about to share with you, you need to ensure you have Shoelace Retargeting setup as well. Their strategies differ and create other customer journeys that are beneficial. You will need this DPA feed set up to work with them.
Today we are going to use Velocity Bicycle Co’s website as the guinea pig to take you step by step through setting up your DPA feed.
How to Set Up Dynamic Product Ads for Shopify
What is a DPA? DPA stands for Dynamic Products Ads. They are magic for retargeting. As a marketer it allows you to do several things to bring back customers or visitors that have been to your site.
You would have seen DPA out in the wild on the web. Most often when you have viewed a product in your browser and not purchased it will continue to follow you around, enticing you to come back and purchase.
It is like going to your grocery store, picking up a bag of chips/crisps, putting them down after realising they’ll make you fat then have them following you around the store for the rest of your visit. You will need some decent willpower not to make that purchase.
Step 1. Set Up Catalog in Facebook
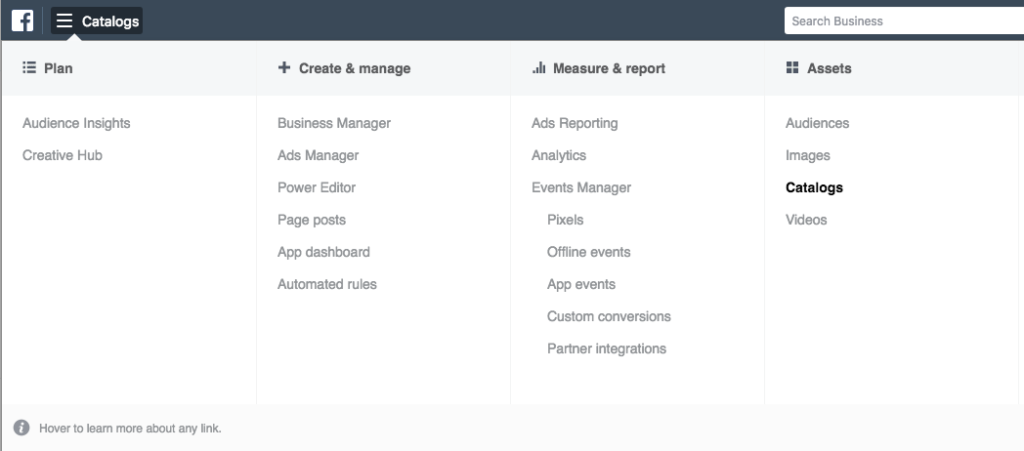
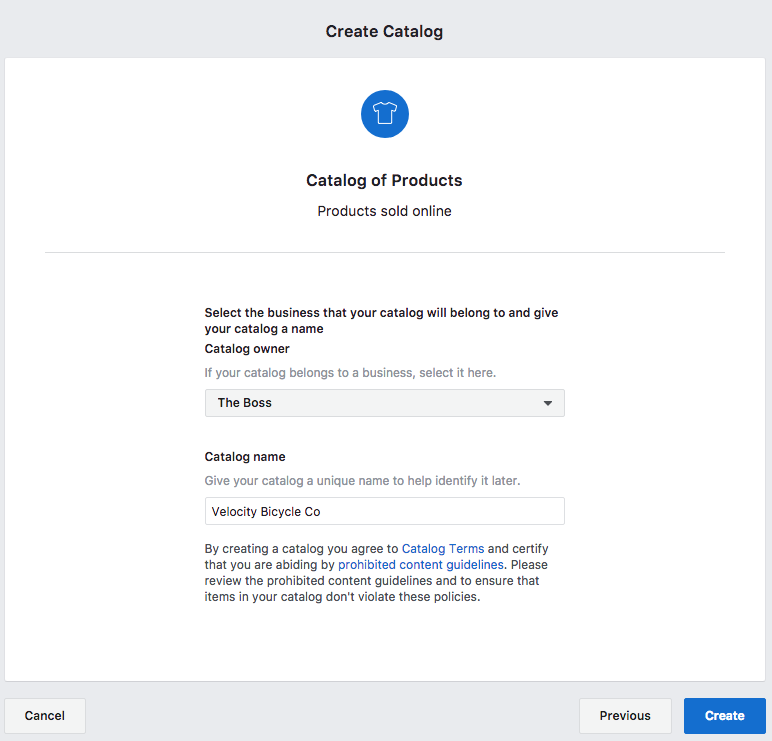
Step 2. Give Catalog a Name
Once you have created the store you will be taken to the diagnostics screen which will give you 3 recommendations.
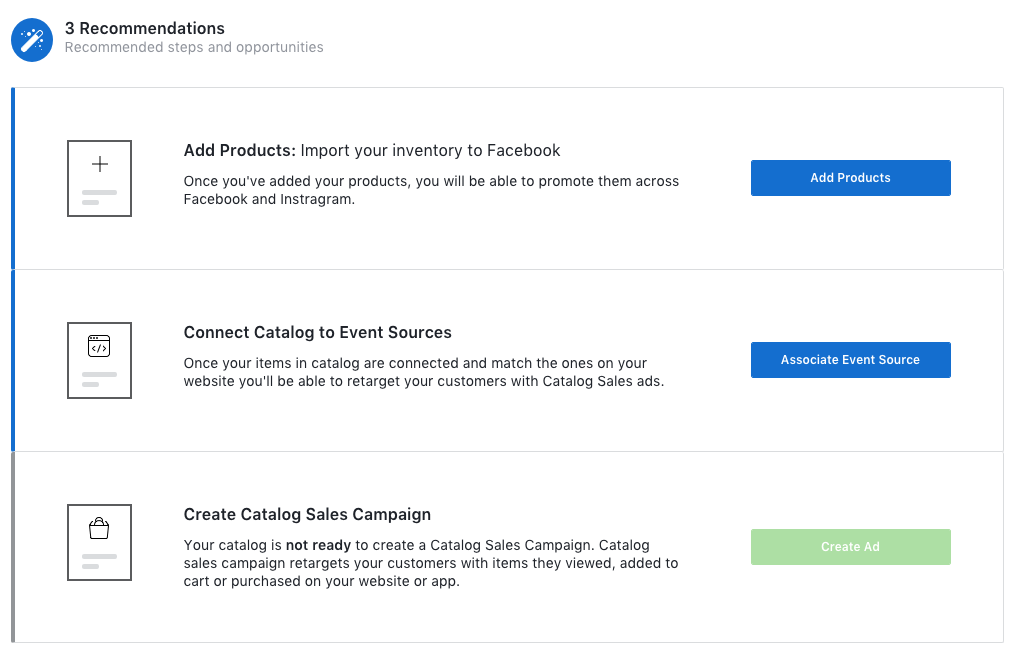
Step 3. Add Products
- In the “Add Products With Data Feeds” screen you want to set a schedule for your products to continually update, particularly if you’re always adding new products.
- Your product feed will be “https://yourdomain.com/collections/all.atom”. Add your own domain to the URL. Note: If that link doesn’t work try using an app like Pixeler or Pixel Perfect. They both will give you a product feed link.
- The username & password is optional. So much so I’ve never had to use it.
- Set your “Schedule Your Automatic Uploads” to daily. Doesn’t matter what time however I have always chose midnight.
- Select your Default Currency. This is the currency your store is in.
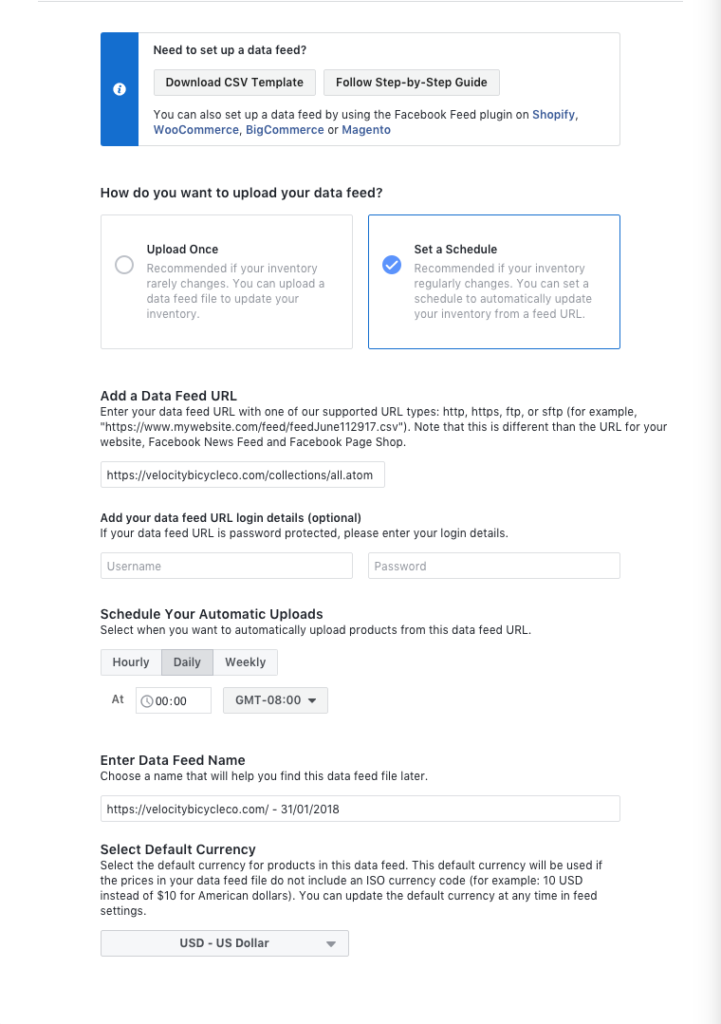
- Once you’ve entered those details select “Start Upload”
Step 4. Associate Event Source
Click “Associate Event Source” to add the pixel to your DPA Feed.
Select pixel you want to associate with your feed.
Step 5. View Products
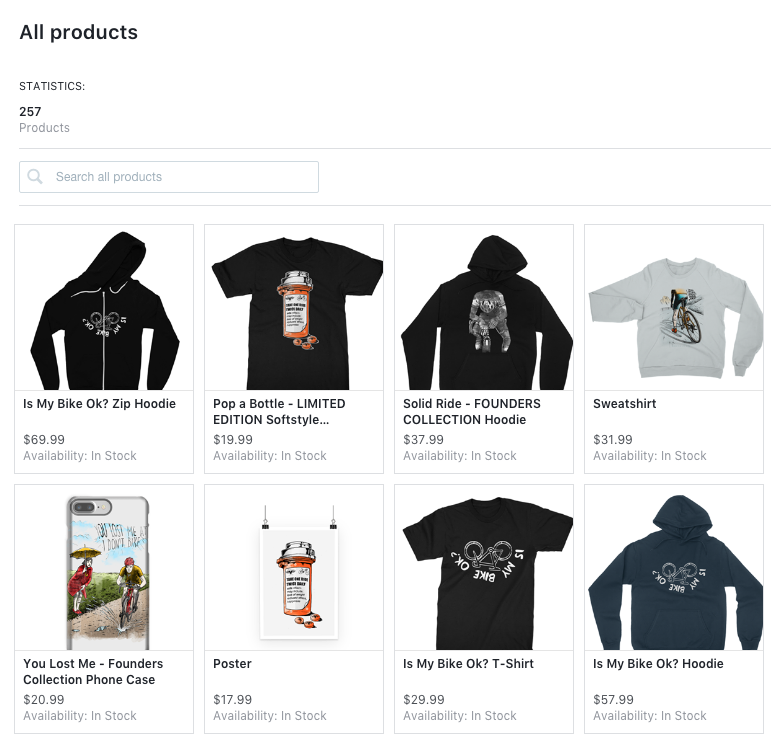
All we need to check in here is that the products have imported successfully.
Conclusion
Once those steps have been taken you now have yourself a product feed to use with Facebook. After learning how to set up dynamic product ads for shopify you will unlock a plethora of powerful retargeting options. Being able to keep fresh ads in front of your audience will be the key to keeping them engaged and bringing them back.

